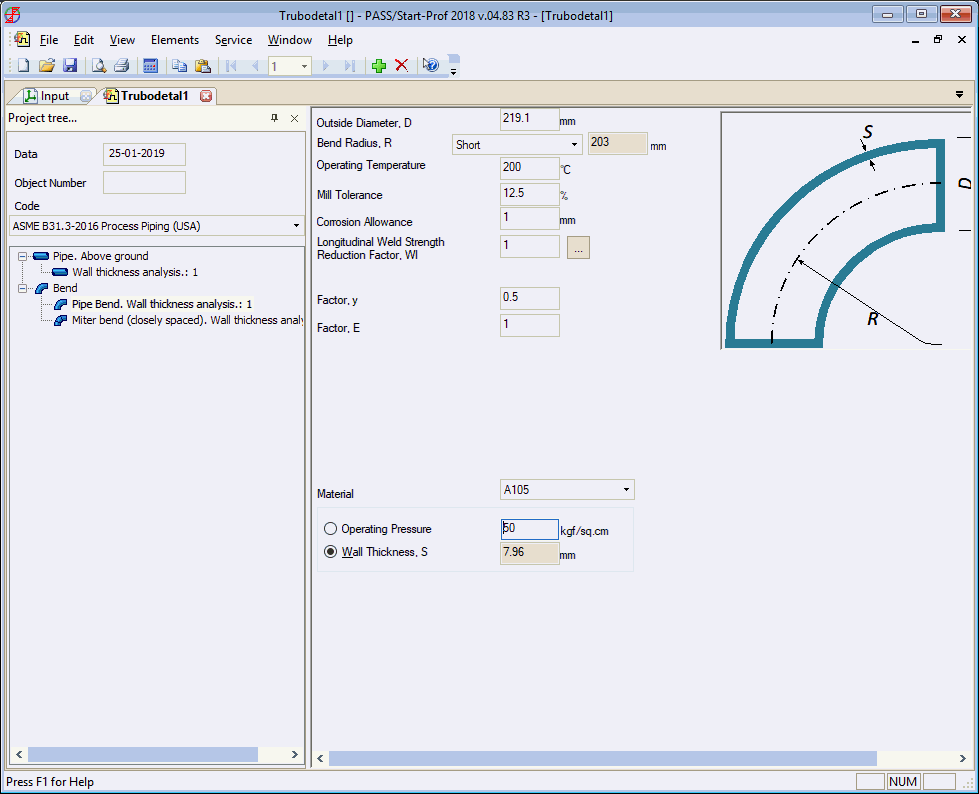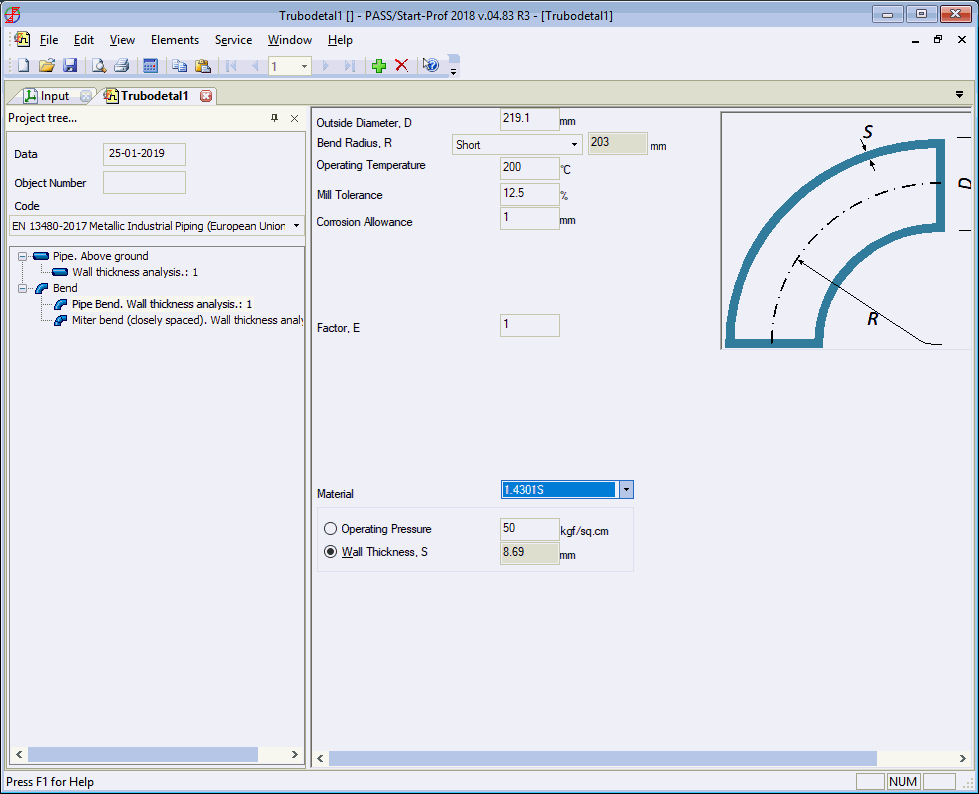

This analysis calculates the maximum allowable pressure for a given bend wall thickness, and conversely the minimum wall thickness for a given pressure. In addition, stress intensification factor in and perpendicular to the bend plane and maximum allowable bending moment are calculated. Allowable bending moment is calculated based on static and fatigue failure values.


Input data can be copied using the
 toolbar
icon and inserted into any other Start-Elements analysis by using the
  toolbar icon in
that file.
Bend properties can also be copied between START-PROF and Start-Elements. More...
Property |
Description |
Mill tolerance |
Mill tolerance at the time of production. More... |
Corrosion and wear allowance |
Corrosion and wear allowance (working mill tolerance) for wall thickness. More... |
Do not check internal bend wall thickness |
According to RD
10-249-98 section
3.3.2.8 "for extruded
elbows manufactured in a closed press, or for bends manufactured on machinery with
high-frequency currents
and axial preload,
c12 for sR1 allowance must be from 0.05s to
0.1s. c12
rof sR3
allowance is 0, and internal
bend analysis is not performed. |
Weld pressure quality factor |
Set based on standards. Can be calculated automatically
by pressing |
Weld bending quality factor |
Set based on standards. Can be calculated automatically
by pressing |
Ambient temperature |
Ambient temperature. More... |
Operation temperature |
Operation temperature in operation state. More... |
Operation pressure, P |
Operation pressure in operation state. Set for all standards except SNIP 2.05.06-85. More... |
Working pressure, Pwork |
Working pressure (based on standards). Set when analyzing with SNIP 2.05.06-85. More... |
Service life |
Piping Service life from 1 to 30 years. Used for fatigue failure analysis. |
Fatigue factor |
Used for fatigue failure analysis. Usually set as 1.0, but in cases of higher safety requirements can be set as 0.2, 0.15 or 0.1. |
Steel grade |
Pipe material from the materials database |
If "pressure" is selected, allowable pressure can be calculated by setting nominal wall thickness. If "wall thickness" is selected, minimum allowable wall thickness can be calculated by setting the pressure.
In both cases, wall thickness is set as no lower than the minimum allowable based on:
SNIP 2.05.06-85 section 8.22,
RD 10-249-98 section 3.3.1.3. table 3.3,
GOST 32569-2013,
GOST 32388-2013 table 1.3).
For SNIP 2.05.06-85, an additional wall thickness check is performed using formula (66) section 13.16.
Wall thickness is rounded up to 0.1 mm.